Welcome!
Here's an easy resin tutorial on how to make resin tray and cover it with epoxy resin to make it look like marble.
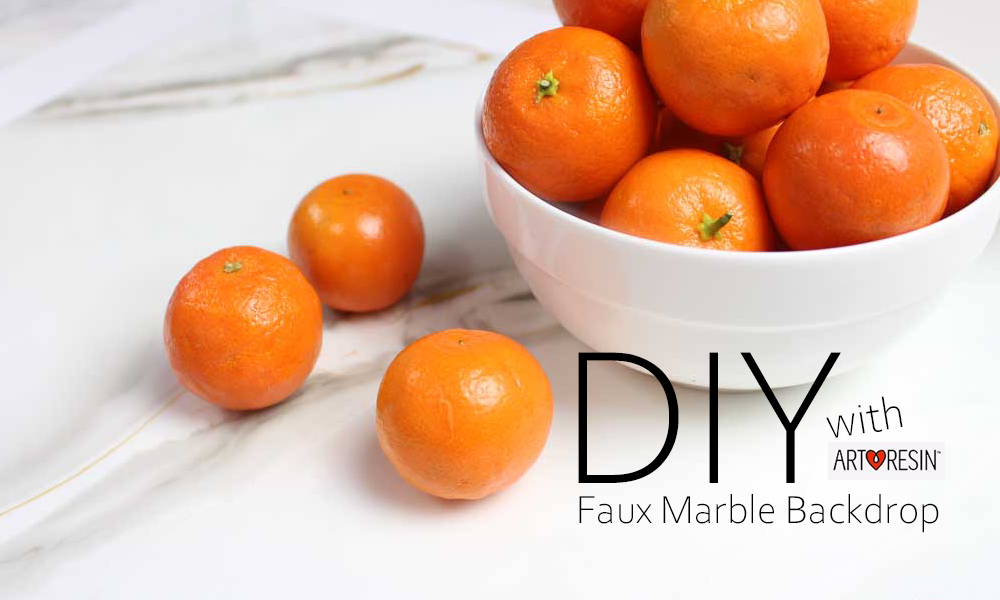
We have collaborated with ArtResin Epoxy for this DIY tutorial and today we are making a gorgeous white and gold tray out of resin to make it look like white marble effect.

You would never know that this background is poured resin! It looks so real and this resin tray is perfect for food blog pictures. You can make this as small or large as you need.
We also have the full video tutorial linked below if you want to watch instead of reading the DIY. ⏬
Wooden Board (I got mine from the thrift store)
If you are using a different resin other than ArtResin, you may get different marble effect results so just be aware of that.

Read the manufacturers directions before starting any project. This is very important because not all resins are the same. Epoxy resin brands have different mixing ratios and cure times.
Gather up your supplies and have everything ready before starting this resin resin tray tutorial so that everything is ready to go.
Always use the proper PPE when working with resin. This includes nitrile gloves and a resin respirator.

A roll of craft paper is the cheapest and easiest way to cover and protect your surface. You can also use a large garbage bag and cut it so that it is larger if needed.
If you don't have a wooden tray, don't worry, you can use some other things. Ideas can include leftover sheetrock from a construction site (go and ask if they have any pieces leftover), wood, or wooden artist panels.

For this video tutorial, I'm using a piece of wood from an old table that was grabbed at a local thrift store. It worked perfectly for this marble effect!
You could also find a silicone mold to make a surface out of pure, poured resin. Just make sure your silicone mold is made for resin work.
For this I used an old gift box. I used it to lift the board a bit so that when the resin drips off, it doesn't pool around the edges.

Make sure that it is completely level or you will have resin running off to one side.

Apply white acrylic paint and cover the whole surface of the board. Let it dry completely before going to the next step. You might need to do two coats, letting it dry between coats.

Mix all of the resin you will need, and add a small amount to three cups for the colorants.

These are going to be used for the veins of the marble background. I'm using ResinTint Metallic Silver, Jacquard Gold, and White Craft Paint. Mix all of these colors so that they are ready and then set aside.
Also see our article about the best gold ideas for resin.

Go ahead and add white resintint to the rest of the resin. We love this color because it's an off white so it's perfect for marbling.


*Do not add more than 6-8% of resin pigment to resin or it will not cure properly
Pour the white resin onto the surface. At this point you do not want the resin to go over the sides.
Once the resin finds a path of least resistance, it will pour over the sides and we don't want that quite yet.

Using a piece of rolled up waxed paper, I moved the resin around. As you do this you will see the resin start to self-level over your piece. And this will break the surface tension.

Watch the video to see exactly how I did this at the bottom of this post.
Using a heat gun is the best way to get bubbles our of resin. Especially if you use one that has different temperature settings.
Many people use a torch, but there is so much more room for error in heating up the epoxy too much which can cause yellowing. So a craft heating gun is preferred.
To get the marble effect, you will want to start with the metallic silver and pour very thin lines up and down the surface.
Move these lines around with your heat gun until they are dispersed to soften the lines to further enhance this marble effect.
The metallic color will start to bleed into the white making it more realistic.

Go over the whole piece with your heat gun again moving things around slightly. Use a popsicle stick to move lines around.

The metallic gold is really going to bring this piece to the next level. I love this part because gold really stand out and shines beautifully.

By now you will start to have resin dripping over the edges. Now all you have to do is to take a long popsicle stick and run it along the sides and on the bottom.
You will want to do this every 10 minutes or so until the resin stops dripping. It will get thicker and thicker until it completely sets.

After 24 hours it will be very hard and then fully cured after 72 hours.
Here's the finished piece? You would never know that this used to be a broken old table. It looks so good!


Use resin in a clean, lint-free and pet hair-free room. If you are worried that dust or something might land on your piece while it is curing, then you might want to cover it with a box after your pour.
Just make sure nothing is touching the actual surface if you are covering it while it cures.
The piece made in this tutorial was set in a clean room with the door shut.
You may also want to read more about whether or not you should wear a respirator mask when working with resin. The answer is yes. Always wear a proper respirator. When I use resin, I also have my window open and a fan pointing to the outside to get rid of resin fumes.

We hope you found this tutorial helpful and would love to see how you use it for your food blogs. Here is the video of how we made this piece. Good luck with your project!
How to get bubbles out of resin
Happy creating!

Comments will be approved before showing up.
Join our community of 1M+ DIY'ers just like you and learn how to bring more fun into your life!


