Welcome!

The saying goes, make something from scratch and you will never buy it from the store again. This is absolutely true for homemade butter!
Homemade butter is VERY easy to make, it stores very well and it tastes the BEST. Let's get right into it!

Here is everything you need to make homemade butter:
Yes... that is all you need to make homemade butter! Now, here is what you do:
1. Pour whipping cream into a large bowl. You will see in my photos I used a KitchenAid mixer, which I highly recommend using. Alternatively, a hand mixer will work also.
If you have ever been interested in getting a KitchenAid mixer, I highly recommend checking the price on Amazon. They are priced very well and have all of the beautiful colors, like this Aqua Sky KitchenAid below.

Check price of KitchenAid mixer on Amazon here
2. Add salt to the cream if you want salted butter.
3. Start blending together. Can turn your mixer to high immediately.


4. Keep your mixer going for a while. This whole process will take between 10 - 15 minutes.

Your cream will turn from liquid cream to whipped cream, then to a very thick whipped cream. It will stay in this state for a while.

5. Every once in a while, when your cream is very thick, stop your mixer and scrape down any cream on the sides that isn't getting mixed in.
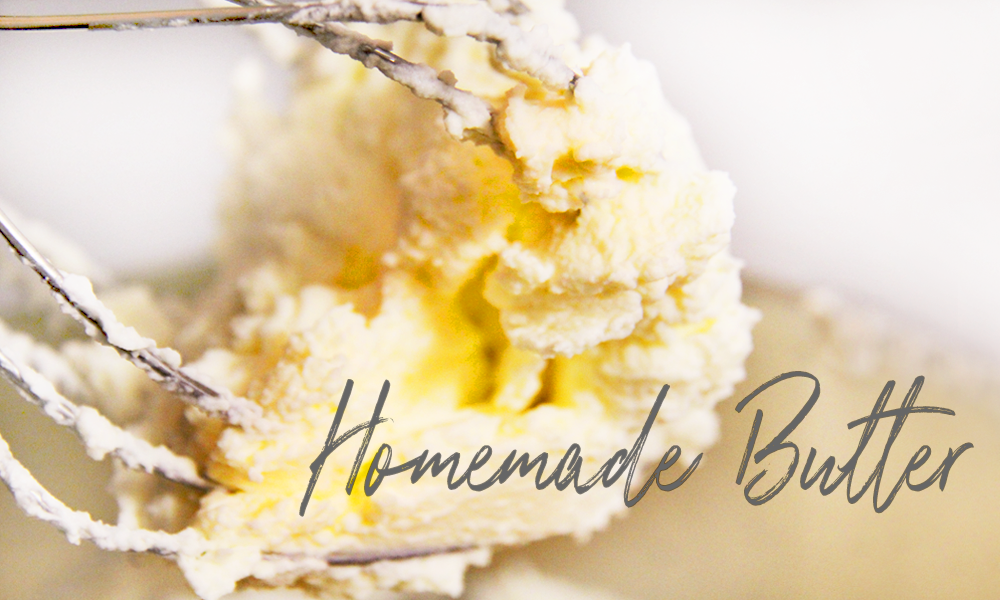
After about ten minutes, your cream should be very heavy and thick and may appear a bit yellow in color. You are on your way to making homemade butter!
If your homemade butter does not turn yellow, this may just mean that the cows' diet may have consisted of corn instead of grass! Interesting butter fact!

6. You will know when your cream turns to butter as the fat separates from the liquid.
You will notice that all of a sudden there is a watery substance splashing around in your bowl. This is buttermilk! The butter is now separating.
Keep mixing about 3 minutes after the separation occurs.

7. You should have a half buttermilk and half butter mixture left in your bowl! Now you have to separate the homemade butter from the buttermilk.
8. *This is the most important step:
Grab your strainer. Pour the homemade butter mixture into the strainer. You can save the buttermilk in the fridge for another recipe if you would like. This is what traditional buttermilk is. More modern buttermilk is cultured and is made differently. This is the real deal.
Using a spoon or silicone spatula, push the homemade butter against the strainer so the buttermilk liquid drains out.
Turn your homemade butter in the strainer and keep pushing the buttermilk out. What is left, is a creamy, soft yellow homemade butter.


*This step is crucially important as it will determine how long your butter will last. The more buttermilk you get out, the longer your butter it will last.
You may also rinse your butter with water once you are done to get any residual buttermilk off.
9. Place your homemade butter in your butter dish and enjoy!

We hope you enjoyed making homemade butter! Make sure you bookmark this page or Pin any of our pictures to your favorite Pinterest board so you can find this recipe again.

Browse all personalized, handmade items you can find on Etsy HERE
Do you have any homemade butter questions? Let's see if we answer them below:
How long does homemade butter last?
Homemade butter lasts between 2-3 weeks if you keep it in the fridge, however, the shelf life of homemade butter is affected by how much buttermilk you are able to get out of it.
Any remaining buttermilk in your homemade butter will make it sour more quickly, so be sure to really push the buttermilk our of your homemade butter through the strainer and rinse it.
Can you freeze homemade butter?
You can freeze your homemade butter for up to 6 months! After you make your homemade butter, wrap it in saran wrap or a ziplock bag, and then put it into a container. The more airtight your butter is, the longer your butter will last and keep.
How long does homemade butter last on the shelf?
Homemade butter will last between 3-6 days if it is kept on the counter or shelf.
How much of the whipping cream actually turns into butter?
Following my recipe above, the 3 cups of whipped cream turned into 1.5 cups of butter and 1.5 cups of buttermilk. So whatever measurement of cream you use, assume you will get half of that amount in butter.
Do I need to rinse my homemade butter?
Rinsing your homemade butter is not a necessary step, however, it will aid in extending the shelf life of your butter by removing the residual buttermilk from it, which can cause it to sour more quickly.
How much cream does it take to make 1 pound of butter?
One quart of cream (equal to 4 cups of cream) will produce 1 pound of butter (or at least close to it depending on the percentage of cream you are using).
How do I know if my butter has gone bad?
You can tell if homemade butter has gone bad by simply looking at it and slicing it. If the color on the outside of the butter is different from the inside color, your butter may be bad. Butter should have a uniform color on the outside which carries into the butter itself.
Have you tried this recipe? Be sure to come back and leave a comment! We would appreciate that.

Have a tasty day! xoxo
Comments will be approved before showing up.
