Welcome!

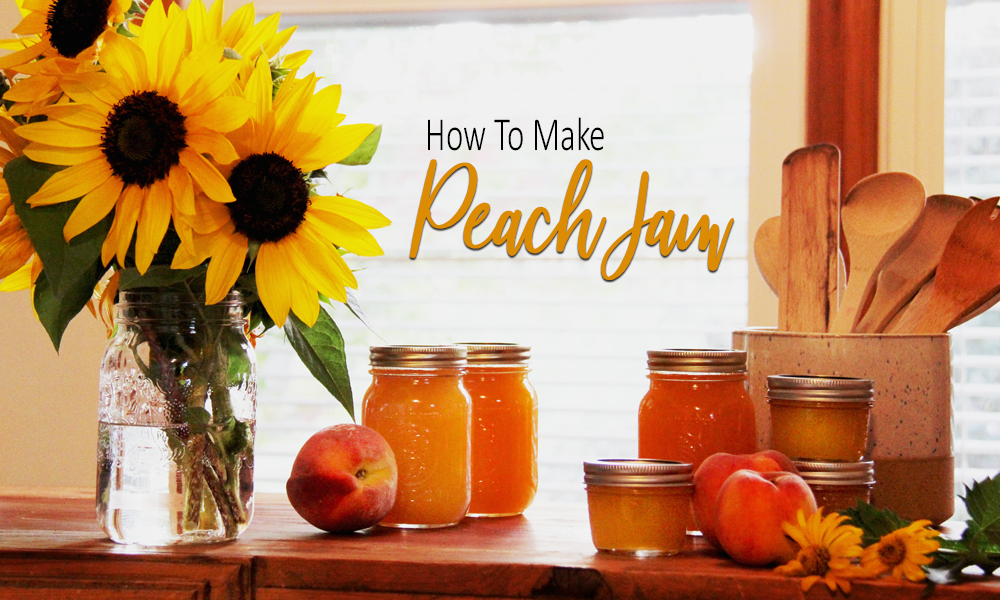
Here is the best way to make your own peach jam at home without pectin. Peach jam is a harvest treasure when you have an abundance of fresh peaches. The way homemade peach jam looks in the jars is like liquid gold in the sunlight.
It is beautiful! Peach jam is something anyone can make when you follow these step by step instructions on this recipe. Whether you grow peaches on the trees yourself or you buy fresh peaches from your local grocery store or fruit stand.
You can absolutely make this peach jam recipe, can it and enjoy it for the next year.


Before starting this peach jam recipe, this is a good time to fill your canner with water and bring it to a boil especially if you are using a huge canner on the stovetop.
It takes a long time to get that water boiling, so start right away.

1. Peel your peaches. You can use a sharp paring knife or, if your peaches are perfectly ripe, you may be able to just peel the skin off with your fingers. The trick is to make sure your peaches are not over ripe or too soft. This might cause your peach jam recipe to be a bit too liquid.
*Meanwhile, find a small plate and put it into your freezer. You will use it later to test your peach jam for readiness.

2. Carefully take the pits out of the peaches and place the peaches into a large bowl like the one below.
3. Crush your peaches with a potato masher. You can leave them pretty chunky as the heat will help break the peaches down.

4. Add lemon juice and water, then stir to combine. Silicone spoons are perfect for this. Check out this cute set on Amazon
5. Bring the temperature of the peach jam mash up to a boil, then once it reaches that point, add your sugar. Stir well and continue to cook at a gentle boil for about 12 minutes.

6. Test to see if your peach jam is at the gel stage. Take your peach jam off the heat so it doesn't burn, and now take your plate out of the freezer.
Using your silicone spoon or a wooden spoon, put about a tablespoon of your peach jam on the cold plate and let it sit for a few seconds. If you drag your finger through the peach jam on the plate, does it leave a clean streak? If so, the peach jam has reached the gel point.
Does the peach jam pool back into the clean spot you made with your finger? It may need to boil gently for another 3-4 minutes. And then test again. This test is important to do as cooking times vary depending on your area's elevation and how it affects boiling time.
7. When your peach jam is ready and the gel test is good, take your silicone or wooden spoon and skim the thick, bubbly 'foam' that forms on the top of your jam.
8. Ladle your peach jam into a hot, clean jar. A stainless steel, wide-mouthed jam funnel is perfect for this job.
9. Remove any air bubbles from your peach jam with a non-metallic utensil, such as a wooden bar-be-que skewer. This is a great tool to use for getting bubbles out of jams, jellies, and preserves. Find them for a super great price on Amazon here, they are so handy to have around.
10. Wipe the peach jam jar rim with a clean cloth, you don't want any jam hanging out there. Then put your lid on and tighten until it is fingertip tight. When you are making jams, jellies, and preserves, it is best to use new or almost new lids to make sure your food preserves properly. A good size for making jams and jellies is the 250mL size Bernardin jars found on Amazon.

11. Carefully put your peach jam jars into the canner with the boiling water. Make sure the water IS boiling before putting jars in, and be careful not to tip the jars at all. The best way to do this is by using a canning jar lifter. You can find that tool on Amazon for a super great price right here.
12. Boil the peach jam jars for 10 full minutes (check your location processing times), then remove using the same tool, again, being careful not to tip or tilt.
13. Do not tighten the lids any further. Set your peach jam jars aside, undisturbed for 24 hours. If there are any jars where the lid did not pop, you should keep them in the fridge and use as soon as possible. How to tell if your lid didn't pop? If the top of the lid is not indented at all, it did not seal properly.

14. Store the jars of properly-sealed peach jam in a cool place for up to one year. This should make 8 x 250mL jars.
Browse all personalized, handmade items you can find on Etsy HERE
We hope you loved this peach jam recipe as much as we do! Be sure to Pin any of our pictures to your favorite canning or harvest Pinterest boards. We would appreciate that.
Here are some peach Jam FAQ:
Yes, you can leave the skins on the peaches when making peach jam. Leaving the skins on the fresh peaches will give the jam even more flavor.
Use peaches that are ripe but not too squishy or soft for making peach jam. Avoid using peaches that are too soft or overripe because your jam might not set properly. The best peaches to use for jam are firm peaches with a slight give when squeezed gently.

Thanks again. Happy harvesting! xoxo
MORE HELPFUL ARTICLES
Supplies A Breadmaker Would Love To Have
Comments will be approved before showing up.
